When it comes to safeguarding your belongings, protecting them from water damage is a top priority. A well-maintained storage unit is essential in ensuring that your items remain in good condition.
While renters insurance offers some coverage for storage units, taking preventative measures to waterproof your storage space can save you from costly damage repairs and heartache. In this article, we will provide a step-by-step guide on how to effectively waterproof your storage unit to keep your possessions safe and dry.
Step 1: Evaluate the Storage Unit
The first step in waterproofing your storage unit is to thoroughly inspect it. Look for any cracks, holes, or leaks in the walls, ceiling, and floor. Pay close attention to the corners, joints, and seams, as these are areas where water is most likely to penetrate. Additionally, make sure that the unit has proper ventilation to prevent the buildup of moisture and condensation.
Step 2: Choose the Right Waterproofing Materials
Selecting the appropriate waterproofing materials is critical for ensuring long-lasting protection. Some popular choices include:
- Liquid waterproofing membranes: These are flexible, easy-to-apply coatings that create a seamless barrier on surfaces.
- Waterproofing sheets: These sheets are made from rubber or plastic and provide excellent protection against water penetration.
- Cementitious waterproofing products: These are cement-based products that can be applied to concrete surfaces to create a durable, waterproof layer.
Choose the right product based on the specific needs of your storage unit and the recommendations of a professional.
Step 3: Prepare the Surface
Before applying any waterproofing materials, it is crucial to clean and prepare the surfaces. Remove any loose debris, dirt, or dust from the walls, ceiling, and floor. If the unit is made of concrete, use a wire brush to remove any efflorescence or loose material. If you have any cracks or holes, fill them with a suitable patching compound and allow it to dry before proceeding.
Step 4: Apply the Waterproofing Material
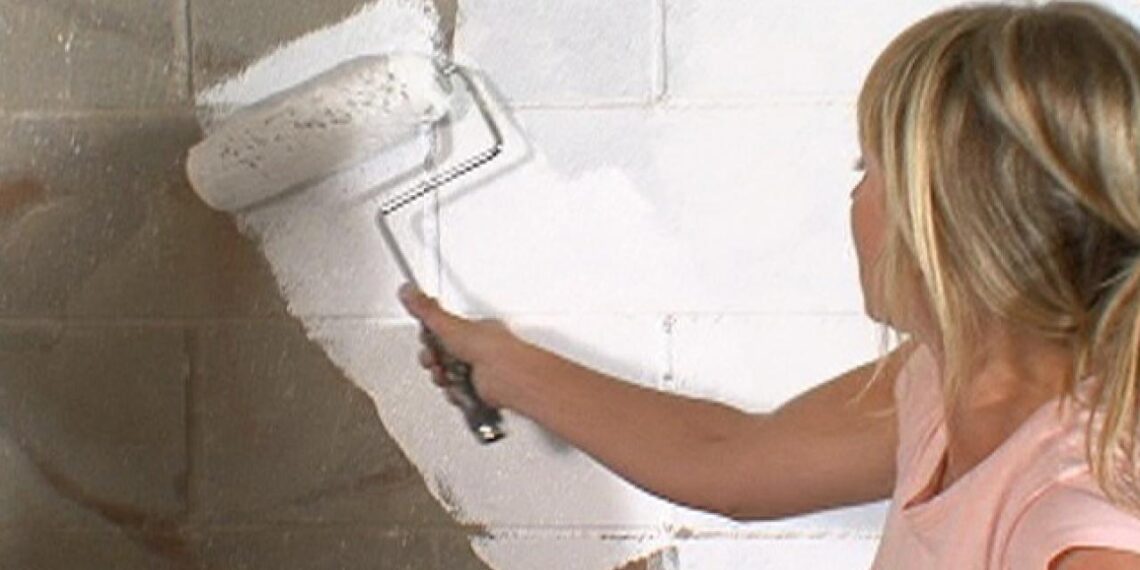
Once the surfaces are clean and prepared, it’s time to apply the waterproofing material. Follow the manufacturer’s instructions and recommendations for the specific product you have chosen. Some general tips include:
- Apply the material evenly and consistently, ensuring complete coverage of the surface.
- Use a brush, roller, or spray equipment to apply the material, depending on its consistency and your preference.
- Apply multiple coats if necessary, allowing each coat to dry before applying the next one.
Step 5: Seal Doors and Windows
If your storage unit has doors or windows, it’s essential to seal them properly to prevent water infiltration. Install weatherstripping around the edges of doors and windows, and use a high-quality caulk to seal any gaps or cracks. Additionally, consider installing a door sweep at the bottom of the door to keep water from seeping under the door during heavy rain.
Step 6: Install a Vapor Barrier
A vapor barrier is a plastic sheet or membrane that prevents moisture from entering the unit. Install a vapor barrier on the floor, walls, and ceiling of the storage unit to prevent condensation from forming inside. This barrier will help protect your belongings from moisture damage and keep the unit dry.
Step 7: Maintain Proper Ventilation
As mentioned earlier, proper ventilation is vital in preventing moisture buildup and condensation. Ensure your storage unit has adequate ventilation, either through vents or a ventilation system. Regularly check and clean the vents to keep them functioning efficiently.
Step 8: Store Items Wisely
When storing your belongings, keep them off the ground by using pallets, shelves, or storage racks. This will help protect them from any potential water damage due to flooding. Additionally, use waterproof storage containers or plastic bins with tight-fitting lids to store items that are particularly susceptible to water damage, such as electronics, clothing, and important documents. Avoid using cardboard boxes, as they can absorb moisture and provide an ideal environment for mold and mildew growth.
Step 9: Regularly Inspect and Maintain the Unit
Proper maintenance is essential for keeping your storage unit waterproofed and protecting your belongings. Regularly inspect your unit for any signs of water damage, leaks, or cracks. Promptly address any issues that you find to prevent further damage. This may involve reapplying waterproofing materials, fixing leaks, or replacing damaged components.
Step 10: Consider Additional Protection
While renters insurance offers some coverage for storage units, you may want to consider purchasing additional insurance specifically tailored for your storage unit. This will provide an extra layer of protection for your belongings in the event of water damage or other unforeseen circumstances.
Conclusion
Waterproofing your storage unit is an investment in the safety and longevity of your possessions. By following these steps, you can effectively protect your belongings from water damage and ensure that your storage unit remains a dry and secure environment.
While renters insurance offers some coverage for storage units, taking proactive steps to waterproof your storage space will give you peace of mind knowing that your valuable items are protected from water-related threats.


